ISO: 100
Aperture f/4
Shutter Speed: 1/250
Now we come to the non-background settings. They are the “big three”: Aperture, Shutter Speed and ISO. They are all interdependent, but as I’ve said before, you have to start somewhere, so it becomes necessary to pick one and go from there.

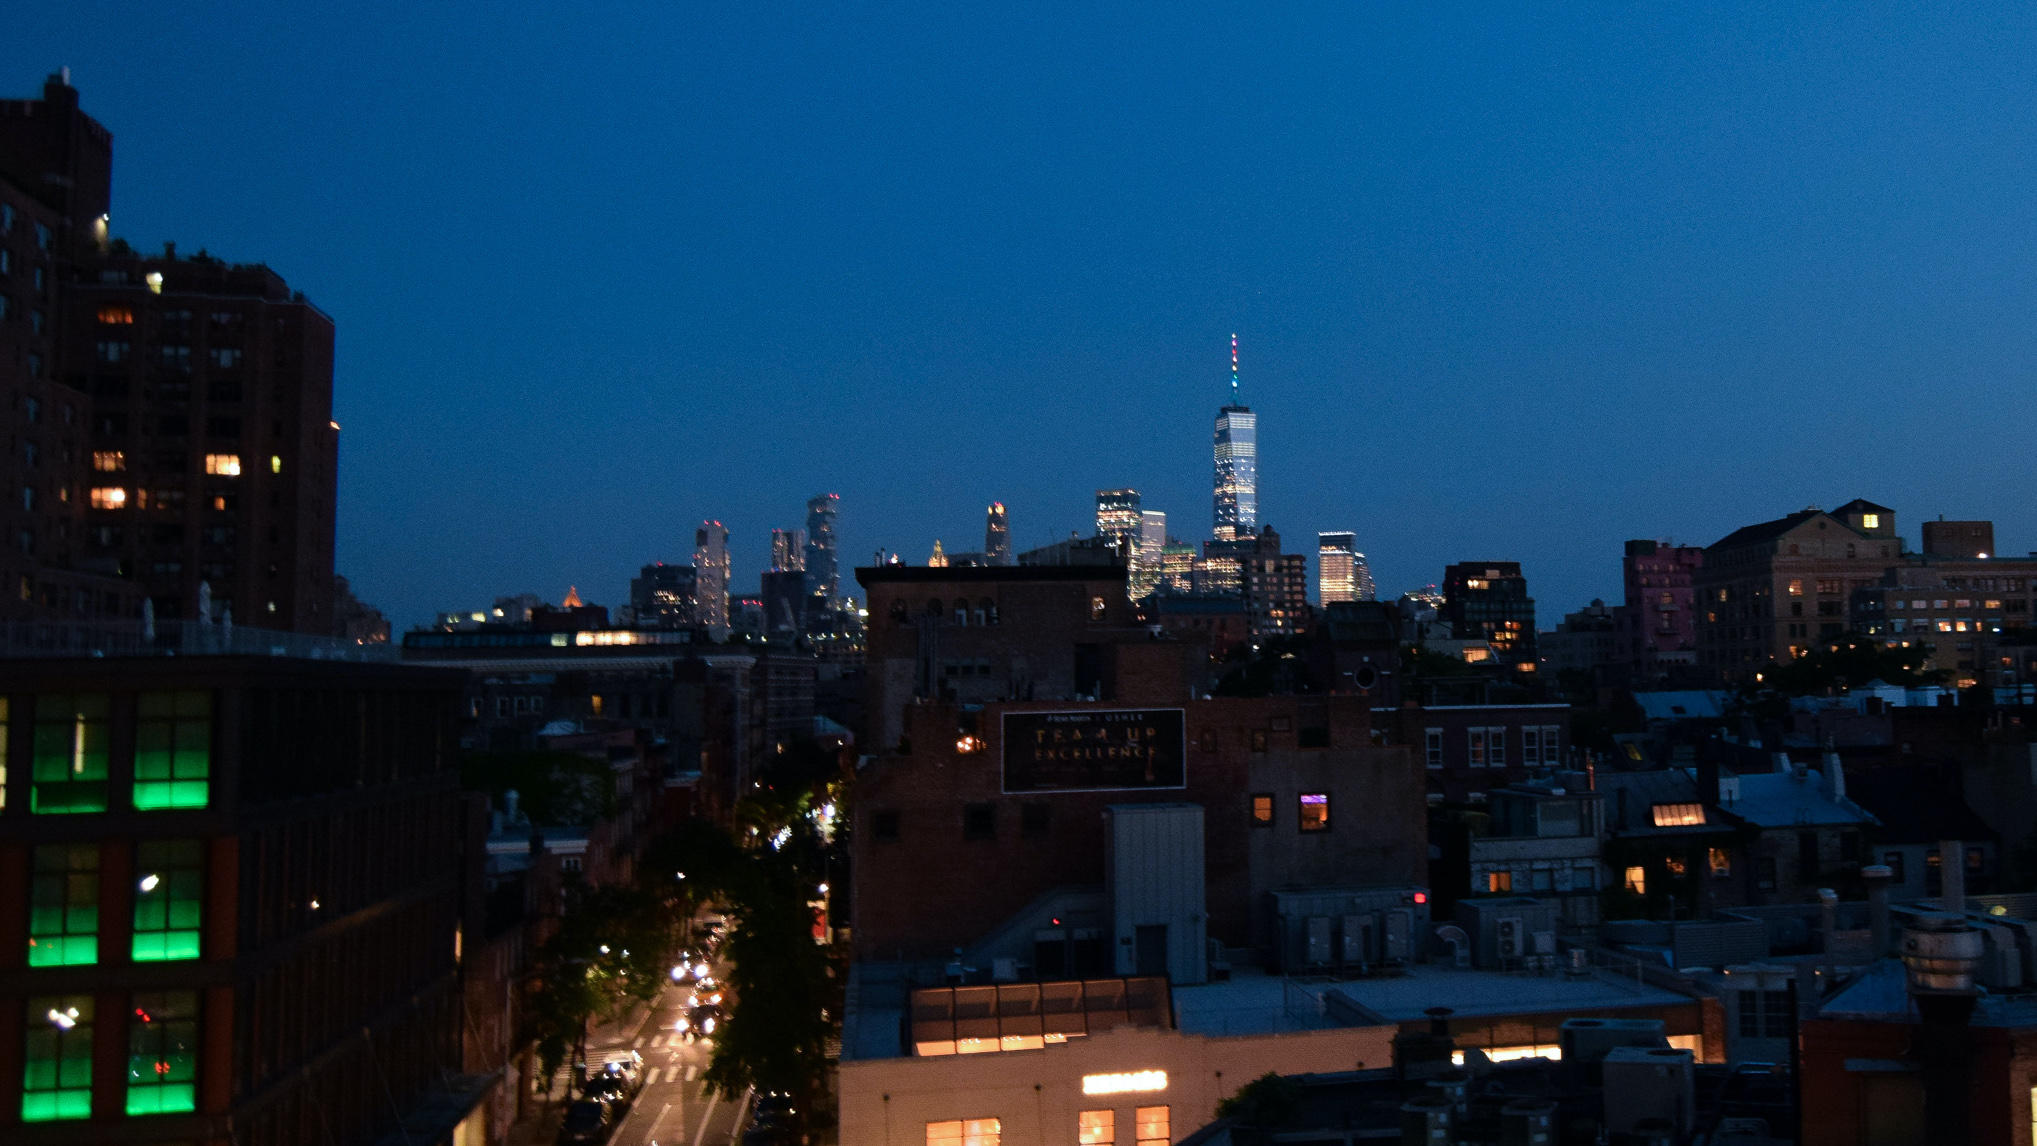
I am going to advise you to start with your Camera ISO. You have to pick an ISO based on the light conditions of where you are going to be shooting. So, for example, take your camera and step out the front door. Assess the light. Is it a bright sunny day? Is it a cloudy day? Is it a dark and gloomy day? Let’s say it is a bright sunny day. In that case, set your ISO to the lowest number, such as ISO 100. If it is a cloudy day, you might need to set your ISO to a larger value such as ISO 400, and if it is a dark and gloomy day, you might need to push ISO further to something like ISO 800, or even ISO 1600.
These are just numbers to start with until you get the hang of ISO for yourself. If the conditions stay the same throughout your shoot, you can set your ISO and forget about it. The lower the ISO number, the less light is hitting your sensor.
More light is needed at the lower ranges to get a good exposure, meaning more light for the higher ranges—the lower the number, the better the resolution and quality of your resulting images.
Higher ISO numbers allow you to photograph in low light conditions, yet these settings bring more grain.
DSLR cameras can cope well with high ISO numbers as their sensors, processors, and large pixel sizes can cope with the digital noise. However, as a rule, use an ISO with a value as low as possible.

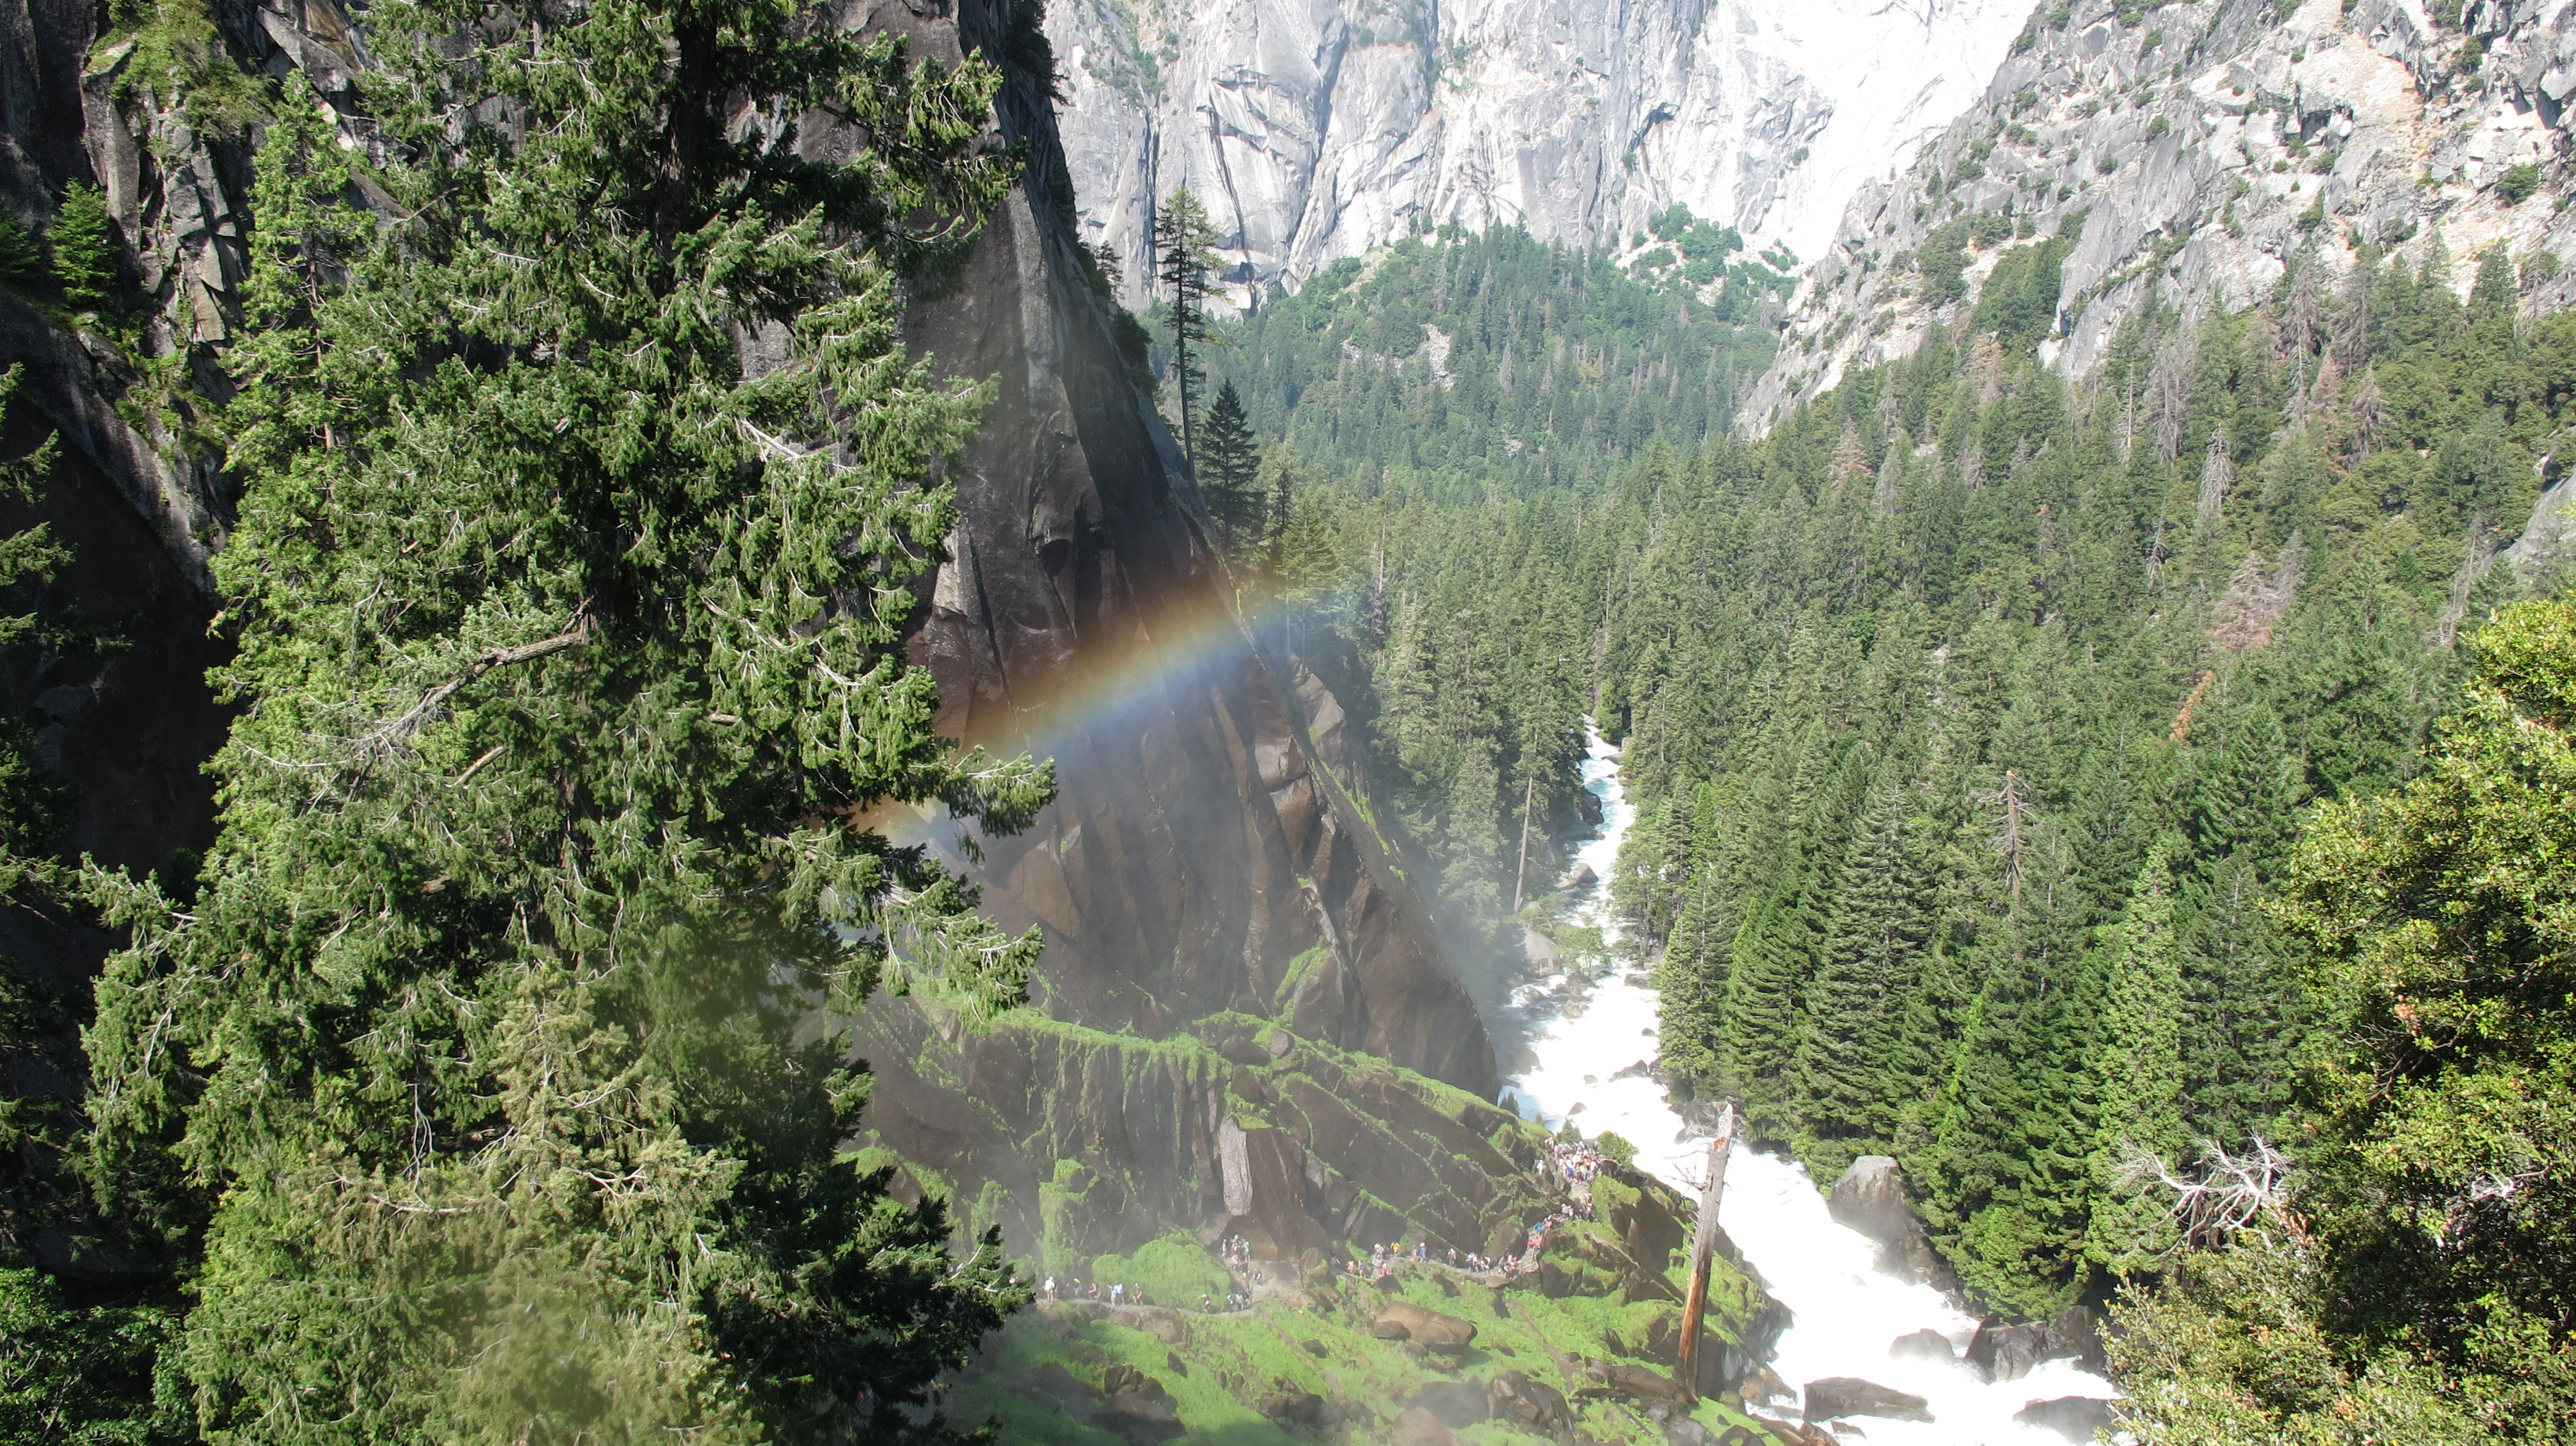
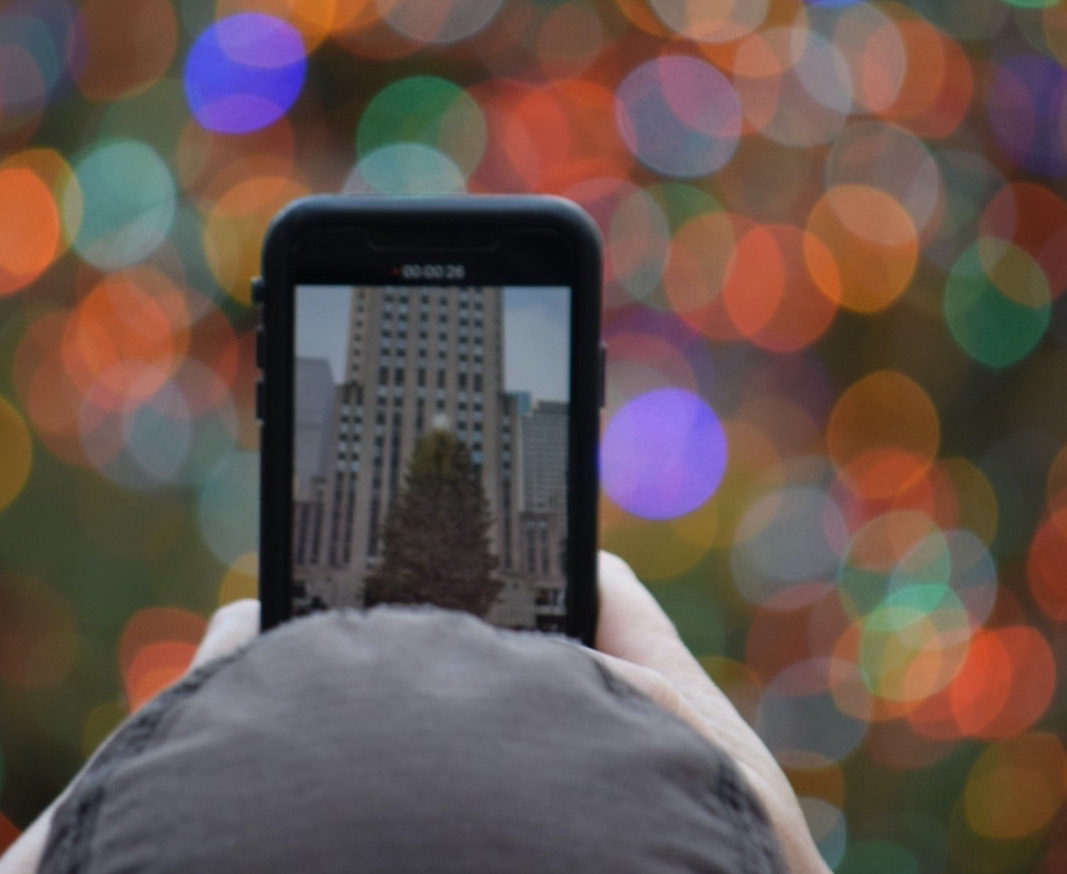
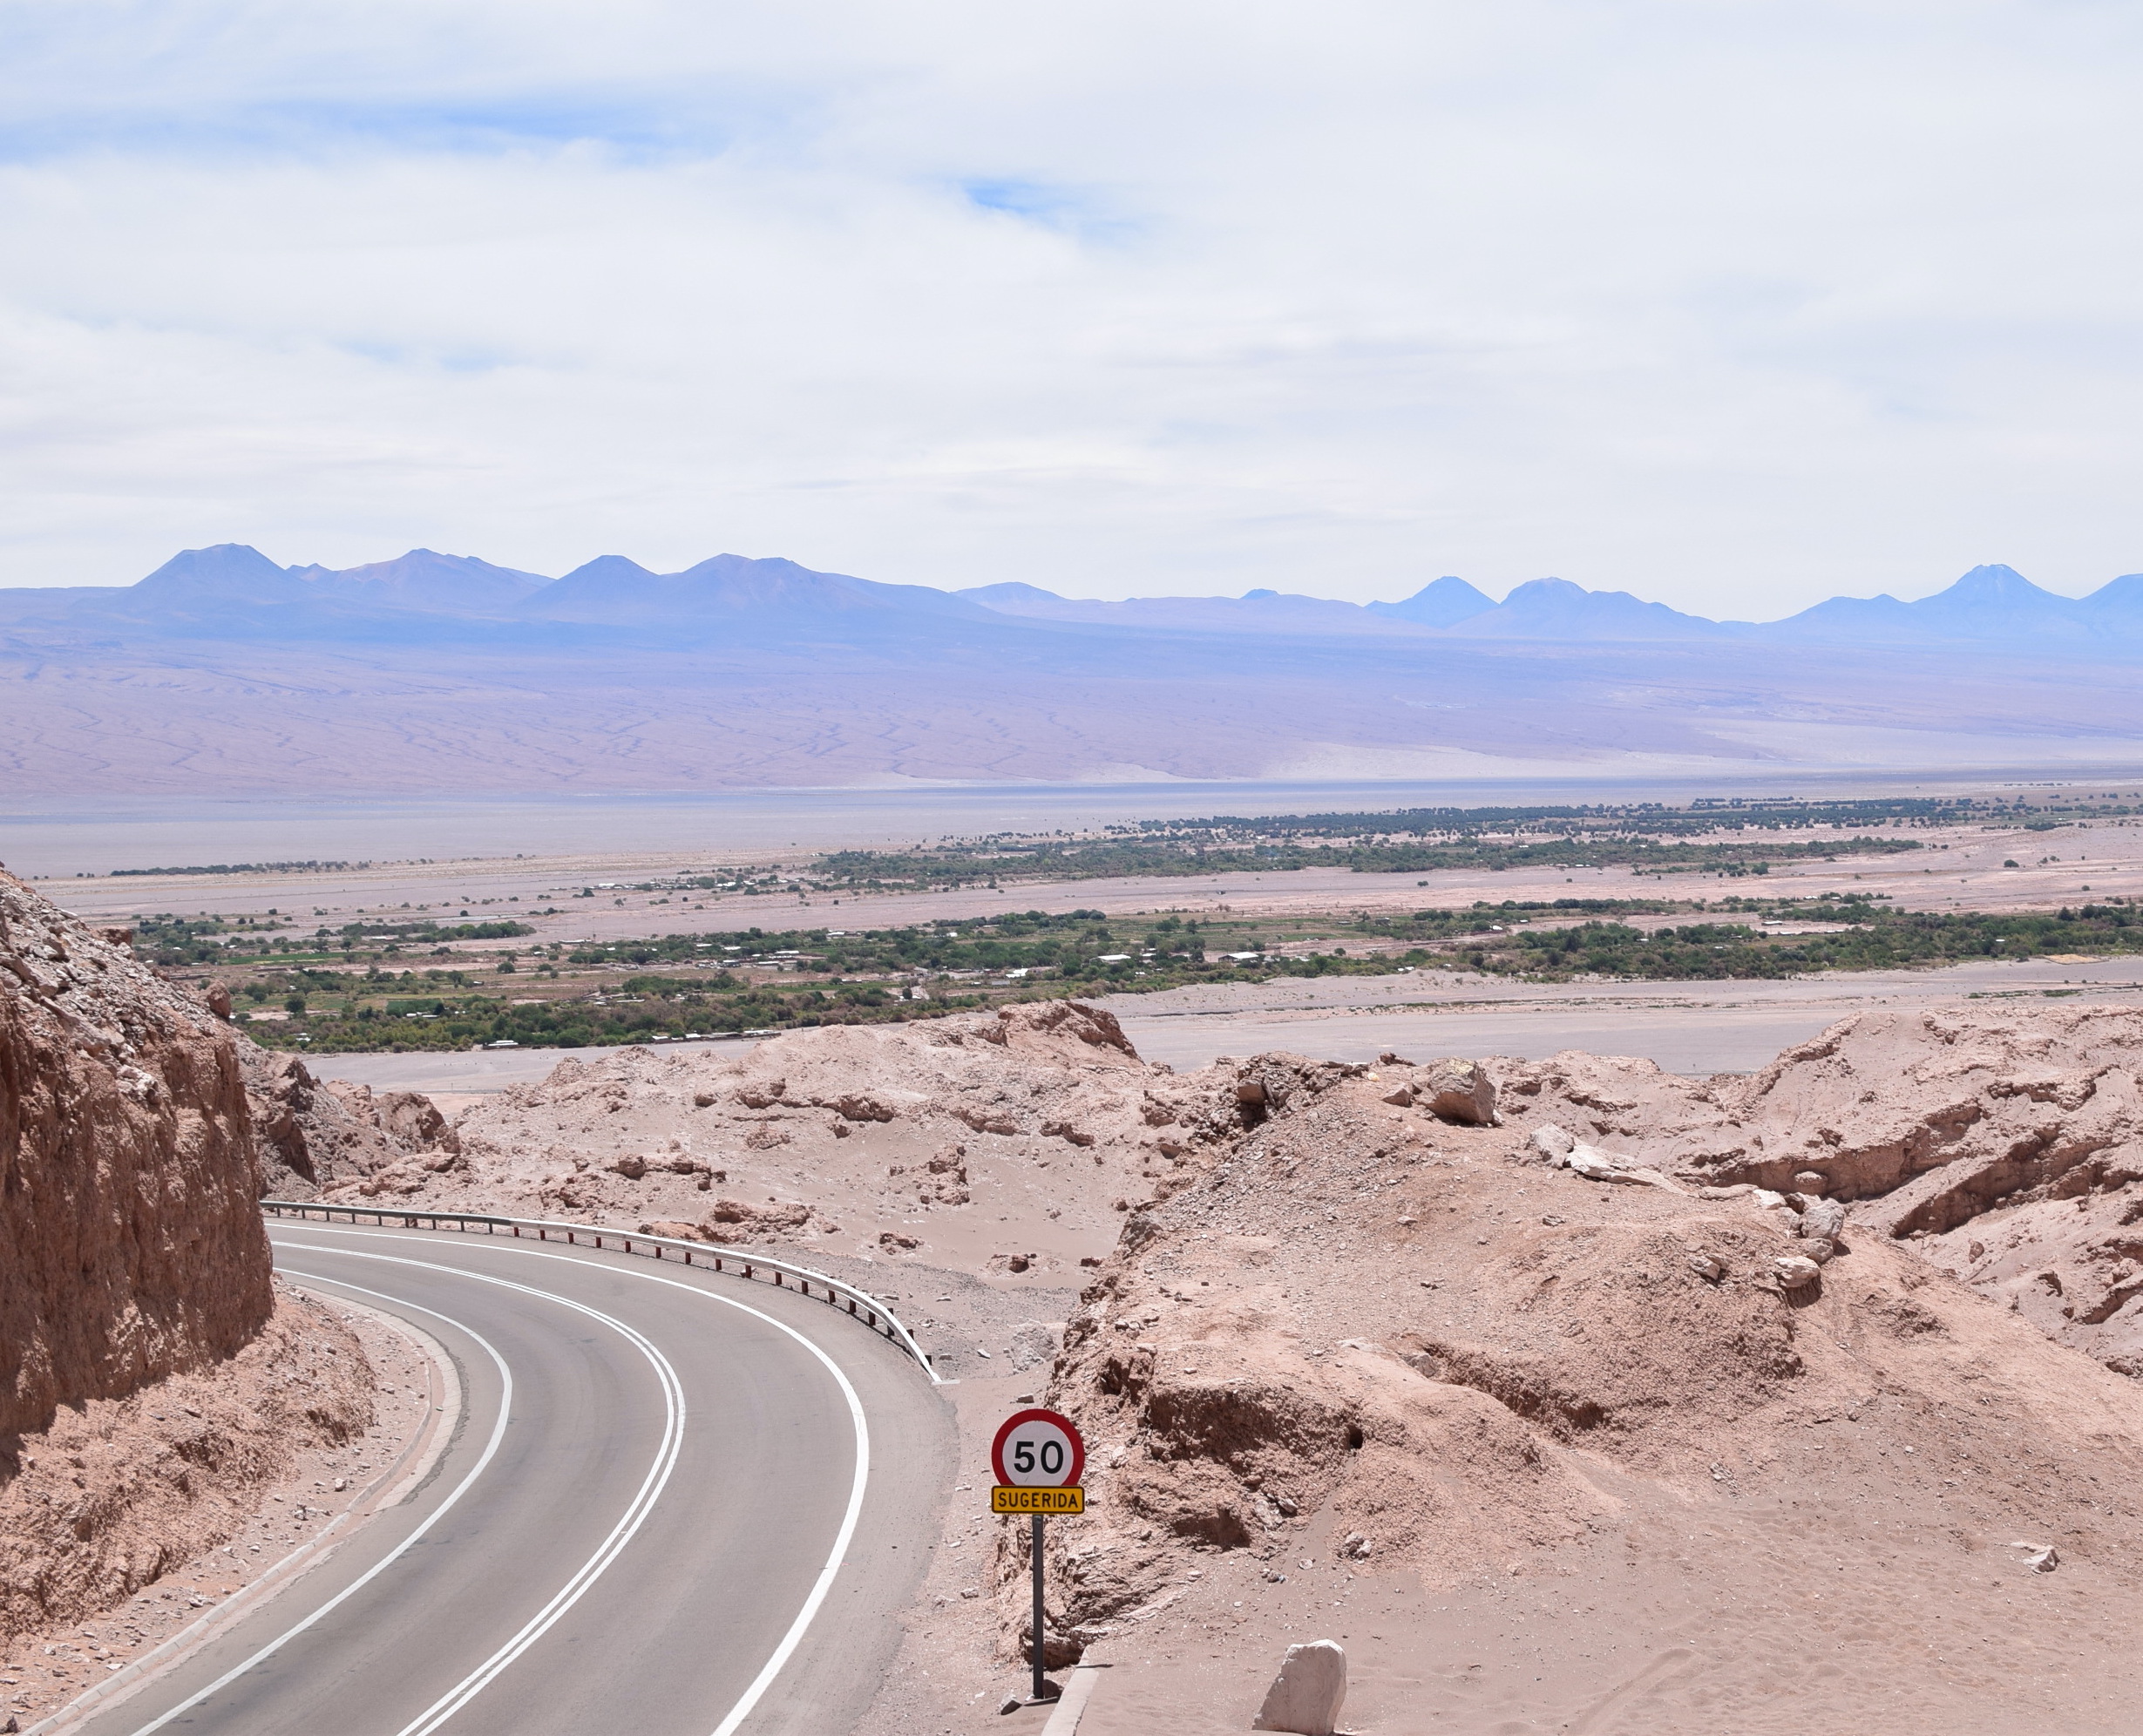
Next decide on your lens Aperture. Do you want close-up pictures with those nice blurry backgrounds? Do you want pictures that are sharp from front to back? Do you want something in between? Let’s say you want a closeup picture with nice bokeh. Set your aperture to the lowest f/ number that your camera has, such as f/2 or f/3.5. Do you want a nice sharp landscape photo? Set your aperture to f/5.6 or f/8 to start with. Do you want something in between those two? Set your aperture in the mid range, maybe f/4. You get the idea. For now, don’t try f/16 or smaller…yet. Instead, start with something like f/5.6.
Aperture can get a bit confusing for beginners, because a small number like f/2 represents a larger aperture, whereas a large number like f/16 represents a smaller aperture.
Being able to control how much you have in focus is important and you can read about Depth of Field in more detail to understand how different variables impact your images. Most importantly, don’t underestimate camera to subject distance – that’s the biggest variable of them all!
The third and the last of the big three is Shutter Speed. This one should always be set last, as it is so dependent on the other settings. These numbers are shown in fractions of a second, where 1/250 s is a typical value.
Your shutter speed affects the sharpness of your subject. Slower shutter speeds allow more light and allow more blur from your subjects, especially when you capture motion.
A faster shutter speed lets in less light but gives you a sharper image as the subject is ‘frozen’. oth Camera ISO and Aperture settings that you set earlier have told your camera how much light to let in through the lens and how your camera sensor will capture it. Now you have to control that light with how fast your camera shutter opens and closes when you take the photo. When you set your camera to manual mode, your shutter speed indicator will appear in your viewfinder as a bunch of little vertical lines bisected with one single bigger vertical line right in the middle (some cameras will have the metering bars displayed on other sides of the viewfinder):